How to Take Photos in Museums?
You travel well, take beautiful photos in daylight and collect memories, but when you take photos in museums, in the dark, your photos are blurry, the glass reflects and you are not satisfied with the photos you take?
Museums are the ideal place to get inspired and see history up close. Photographing artifacts is the ideal way to remember them later. But if there is one thing museums are more interested in than you taking photos, it is preserving the artifact. As such, you may naturally find it difficult to take photos as you wish. Social rules are important, we need to treat people with respect. And since we cannot interfere with the artifacts in the museum, it is difficult to get the composition we want. Is it possible to overcome these two main challenges? You should learn the basics to take your photography to the next level. Here are some basic shooting tips that will be useful for you when shooting in museums.
No Flash
It is a universal rule of museums not to use flash. The most important reason for this is that flash rays, which millions of people like you are exposed to, have the potential to damage the artifact. For this reason, you should make use of the museum’s lighting to get the best results to protect sensitive artifacts.
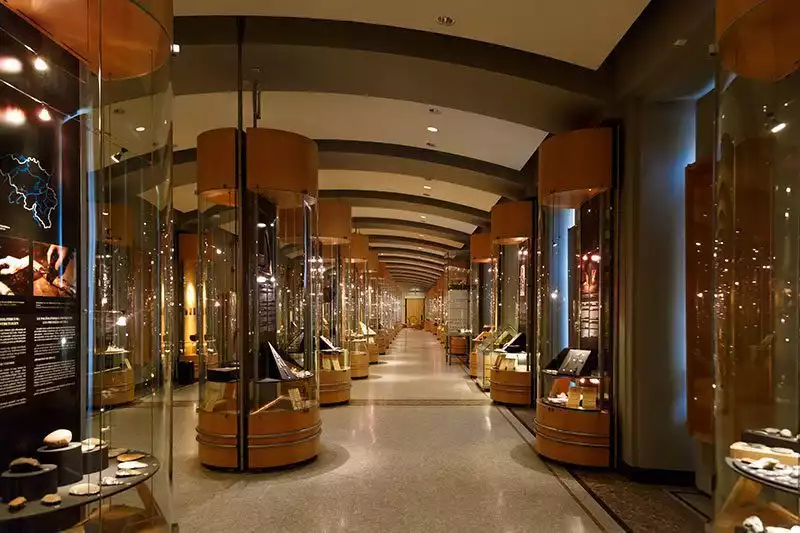
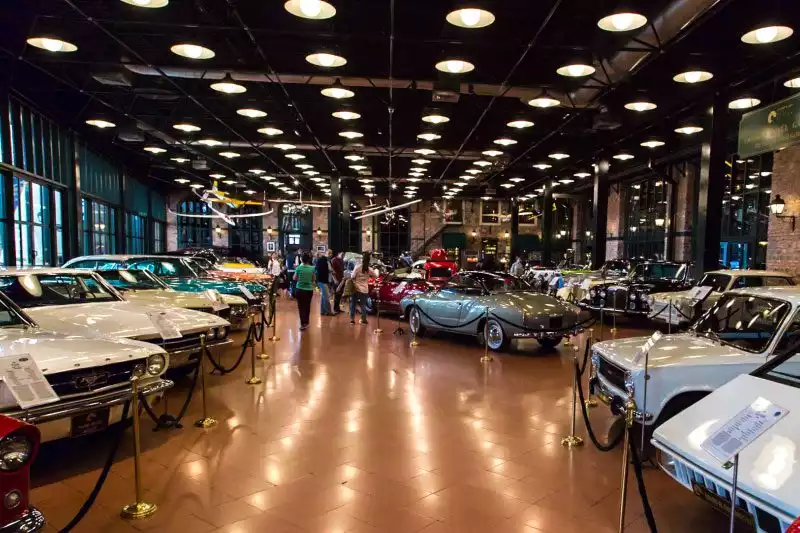
In situations such as shooting artifacts in a museum, your camera’s Auto mode may not save you. This is where you need to know the basic settings of your camera and make the necessary adjustments yourself according to the ambient light. Here are a few things you need to know in order to take better photos in museums, exhibitions and other such low-light situations.
ISO
ISO values are used to measure and control light sensitivity. The higher the ISO value you choose, the poorer the quality of the photo and the more noise you get. When you increase the ISO, we provide more light conditions for the photo. Although the quality of the footage is reduced, it is much more preferable than blurry photos for museum and gallery shooting. It is not possible to sharpen blurry photos, but it is possible to remove noise from noise photos to some extent.
Aperture (f value)
Aperture refers to the range of the light-receiving hole in the camera. A low f-value means that this range is large. A high f-value means that this range is small. There is an inverse proportion between them. If you take a photo at f/8, you will get a darker result than if you take a photo at f/20. This is why low aperture lenses work better in museums.
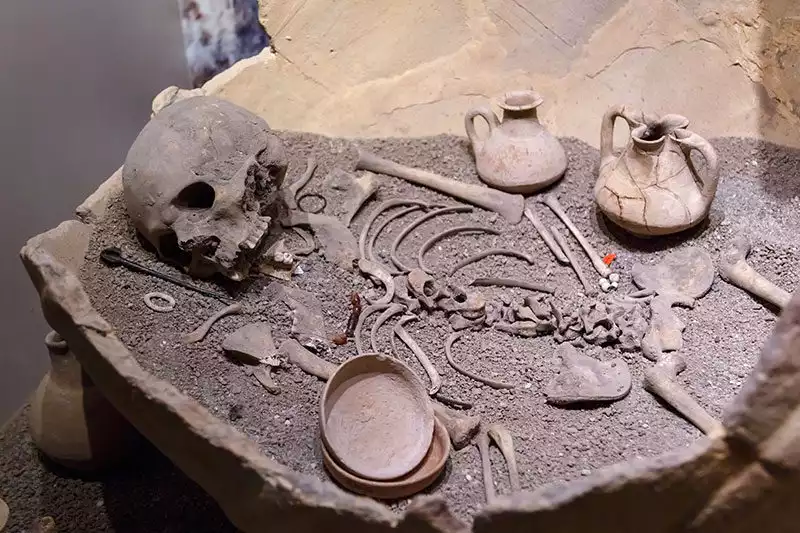
Keep in mind that when you shoot with a low aperture, the focusing area is reduced. When you reduce the aperture to let in light, you may lose focus.
Shutter speed
In most museums it is forbidden to shoot with a tripod. When shooting in dark environments, if the camera is on automatic, it will lower the shutter speed, which will cause shaking because we cannot stabilize the camera while pressing the shutter button. Naturally, our photo will unnoticeably take its place among the photos to be deleted. To avoid such a situation, make sure that the shutter is not too open. I use 1/100 in museums, but there are times when I push a little harder and go down to 1/80. I take care not to go any further. Even if the object is not moving, it is necessary to pay attention to this because we are.
Touching is forbidden
It is forbidden to touch the works and interfere with them from your point of view. The solution to taking good photos lies entirely in you. You should adjust your posture and position accordingly.
Care about your composition
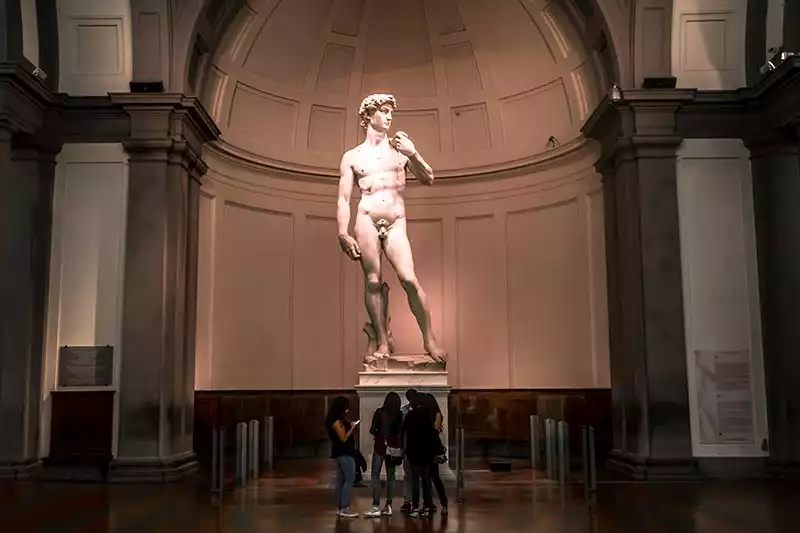
The important thing when photographing artworks in a gallery or museum is to try to capture what the artwork is trying to tell you. Since you can’t touch the artworks and artworks, you can’t edit them according to your wishes. But it is important to capture that ambiance. Instead of just shooting the artwork, use the architecture of the gallery or museum. You can also capture the interaction with other objects.

You have looked, your angle is not working. You can’t change the light source either, so change your position. You can also make objects look different by taking perspective shots.
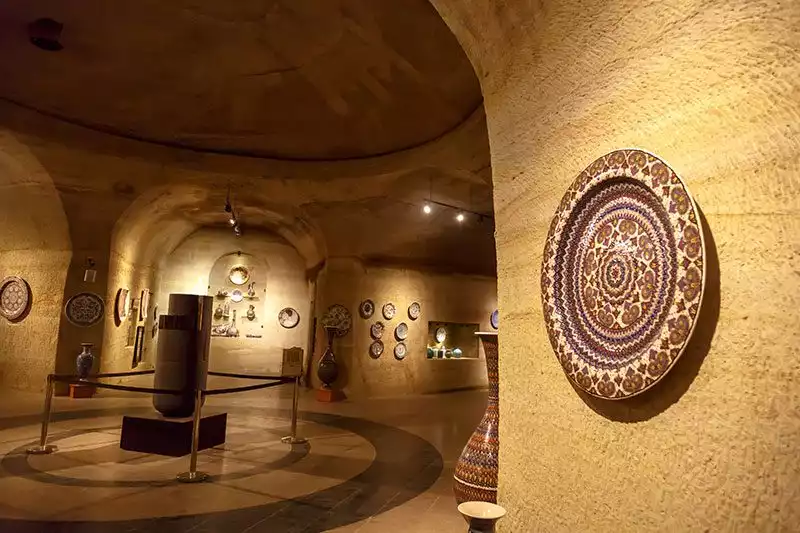
Be aware of visitors
The museum is not your home, there are many visitors like you. We need to be aware of them and respect them. There is nothing wrong with shooting people in a museum, you just have to wait for the right moment. In some cases, if you really want to shoot without people and this is not possible, you can delete people with Photoshop.
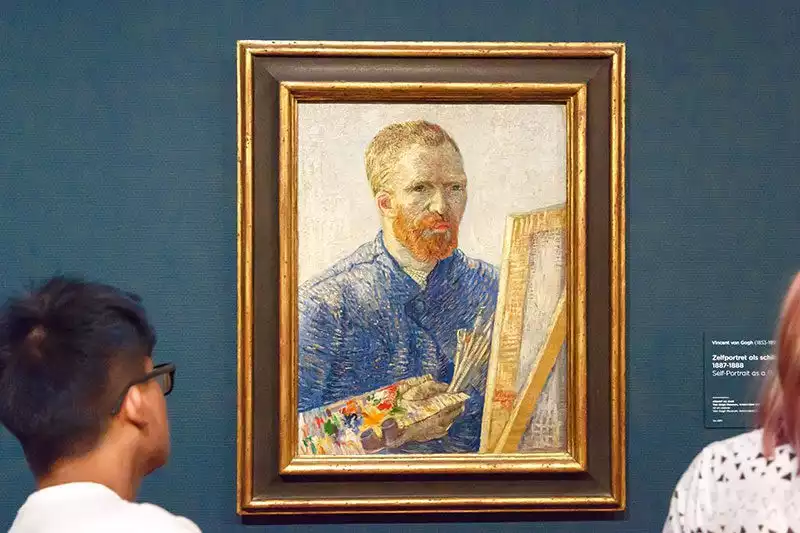
Reflections are the most common and most common problem I encounter when taking photographs in museums. To avoid reflections, we need to know how they occur and how light works. Light travels in a straight line and continues to travel straight after it comes into contact with the glass. If you stand in front of this light, the light source enters your frame. To take good photos in a museum, you should be aware of the surrounding light sources. If there are areas such as mirrors or metal in the artwork, use this to your advantage and become part of the photograph.
